Well, well, well, what have we here? Another person looking to jump into the world of fiber arts and spinning. Before you start making some crazy, cool stuff, you first need to know how to use the tools you have. So, let’s explore how to use a spinning wheel.
To use a spinning wheel, attach your fiber to your leader and then start pushing the treadles to add twist. While twist is being added, draft out fiber from your fiber supply to make more yarn. Then, allow the flyer to wind the already twisted yarn onto your bobbin. Repeat this process to continue making yarn.
If you understood everything I just said, fan-freaking-tastic! You’re ready to roll. If you’ve got questions and are confused by some of those words, keep on reading. We’re going to cover everything from drafting fiber to treadling like a champ.
With all that material to cover, we better get started.
Table of Contents
Getting Started
Before we jump into the actual use of the spinning wheel, there are a few things you need to make sure you have and a few things you need to know.
It’s super important to know how a spinning wheel works and some basic spinning wheel anatomy. If you need to review, I’ve got a whole post about those things which you can read here.
Now, let’s talk about materials. In order to use a spinning wheel, the main things you need are a spinning wheel and fiber.
But, there are a couple of other things that will be helpful to have before you get started.
Here’s a list of the needed materials:
- Spinning Wheel
- Fiber (I recommend wool for beginners)
- A piece of sturdy scrap yarn about 26″ long to use as your leader
- A comfortable chair at a height that puts your legs at a 90-degree angle when your feet are placed on the treadles
- A can-do attitude
A few of these things are pretty obvious like the spinning wheel and the fiber, but let’s talk about the other things on the list.
First, you need a piece of scrap yarn that you’ll use as a leader. A leader is what you’ll use to get your fiber started on your spinning wheel. I’ll explain more about a leader later so don’t stress too much about it.
You also need to make sure you have a comfortable place to sit and make sure your seat is at the appropriate height for you.
If your chair is too tall or too short, it can make it uncomfortable to spin for long periods of time or even cause you joint pain over time.
Last but not least, you need to have a can-do attitude. Anytime you start a new hobby it can be daunting and you will make mistakes but that’s all part of the journey.
My first yarn was so, so, ugly. But, I kept going and I kept my first yarn so I can look back and see how far I’ve come. If you’re looking for a few extra tips, I have a whole post about my five tips for beginner spinners.
Now that you’ve got all the materials you need and you’re ready to go with your can-do attitude, let’s jump into the reason why you’re here: how to use a spinning wheel.
How To Use a Spinning Wheel
Alright, alright, alright. Time to get to the meat and potatoes of this post.
For the pictures and explanations in this post, I’m going to be using my Ashford Kiwi 3 spinning wheel. Your spinning wheel may be slightly different than mine, but the main concepts behind it will be the same.
The main differences will be in the setup and tension for your wheel.
For that reason, I would recommend you go online or use the materials sent with your wheel in order to know how to set up your specific wheel.
Most manufacturers will have instructions on their website on how to set up their wheels. If you’re having some trouble finding resources, here are links to the main spinning wheel manufacturers: Ashford, Kromski, Louet, Majacraft, Schact.
Now that you’ve got your spinning wheel all set up, It’s time to jump in.
1. Attach Leader
Your leader is where spinning all begins, it’s what sits on your empty bobbin and allows you to get your fiber started.
There are two main ways you can create and attach your leader, the one you choose really comes down to personal preference. But, if you’re new to spinning, I recommend using the loop method leader because attaching the fiber to it is less complicated.
The main difference between the two is how you attach the fiber to them which we’ll discuss in the next section.
Loop Method
The loop method is the method I use most of the time. This is where you take a long piece of sturdy scrap yarn and tie the two ends together to have a loop.
You want your loop to be about 16 inches long.
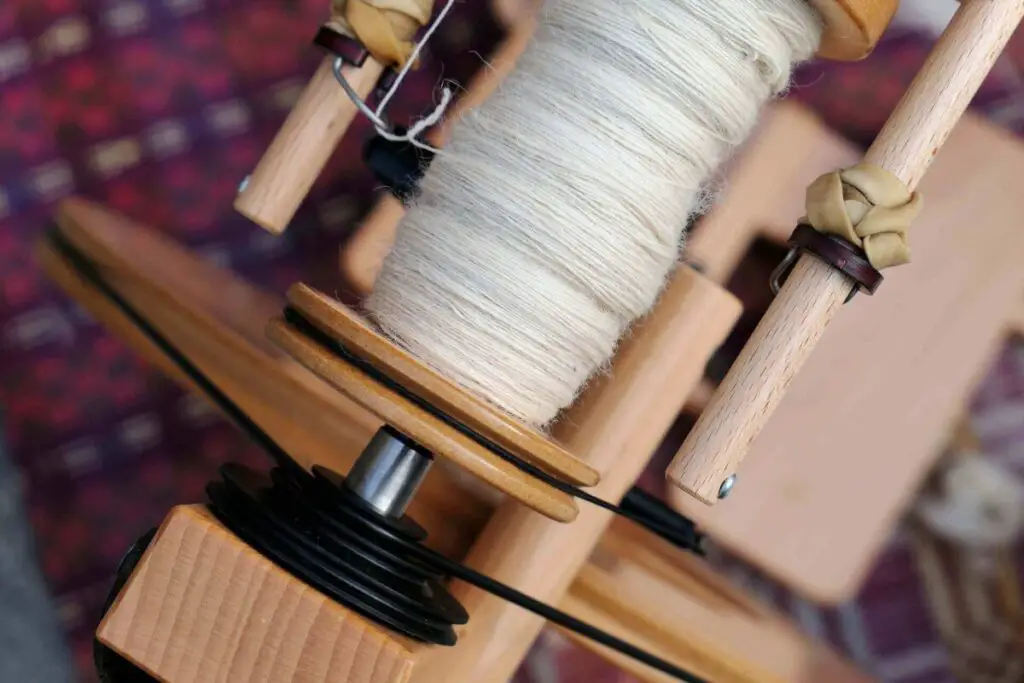
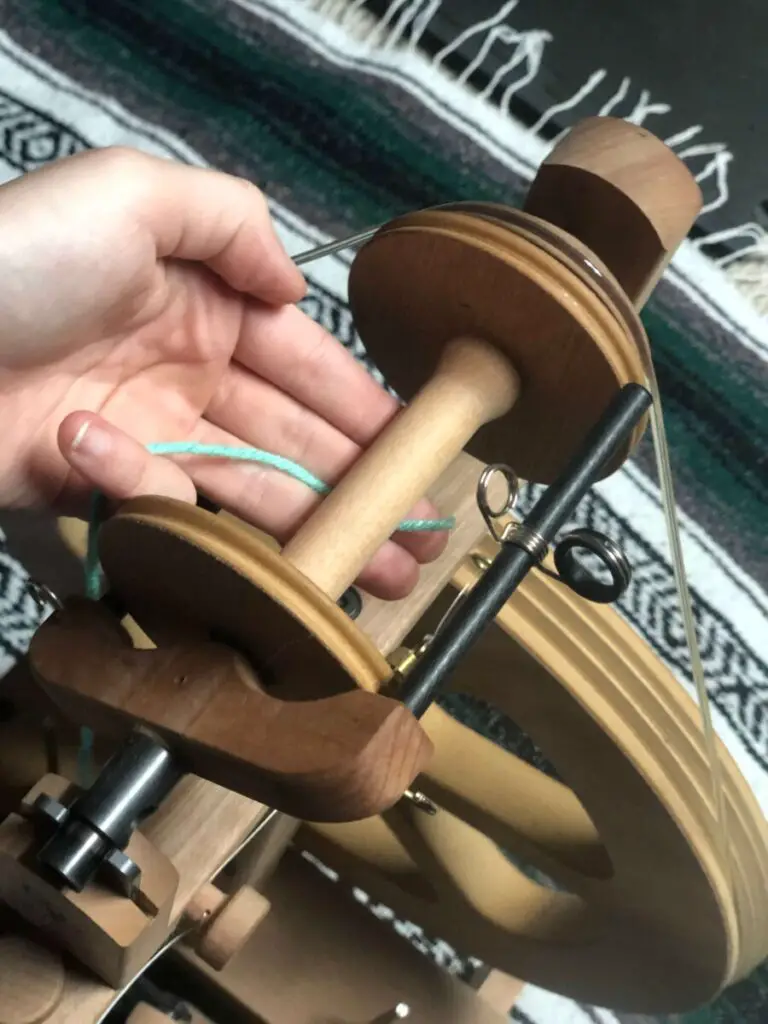
Then you’ll take your loop and tie a cow hitch around your bobbin. Don’t worry, you already know how to tie this knot I’m sure, you just didn’t know what it was called.
To tie this knot, put your leader around the middle of your bobbin. Then, put one end of your leader through the loop on the other end of your leader, making sure that this secures your leader around your bobbin.
Here’s a visual for all you visual learners out there.

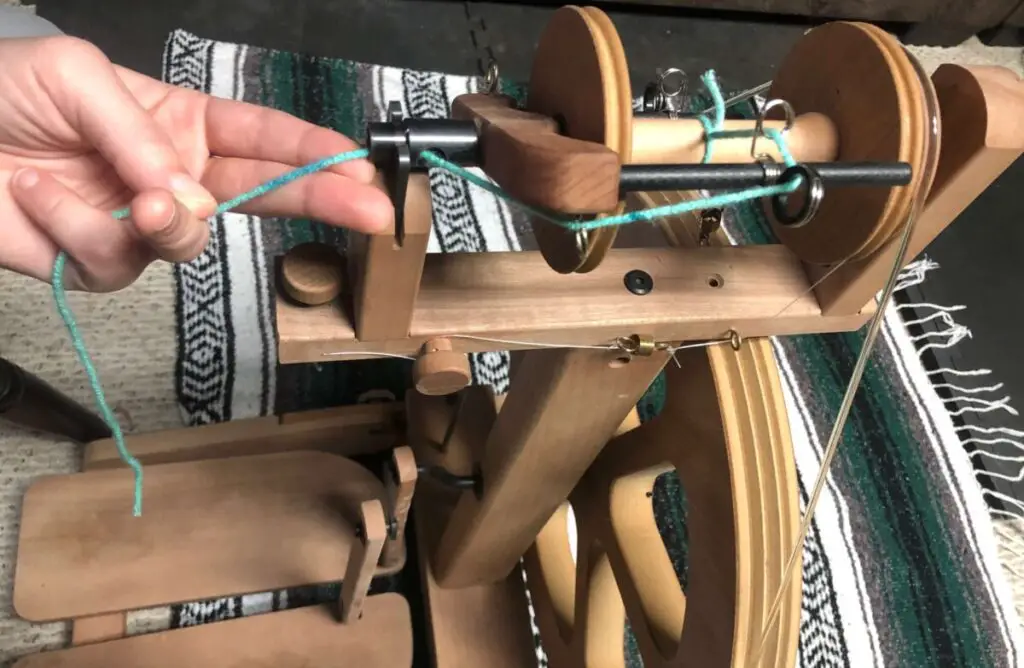
All that’s left is to feed your leader through all of the hooks and through the orifice, this will vary based on your specific spinning wheel. But, the end result should be that you have a big loop of scrap yarn out front ready to add fiber to it.
Next, we’ll discuss the other way you can attach a leader.
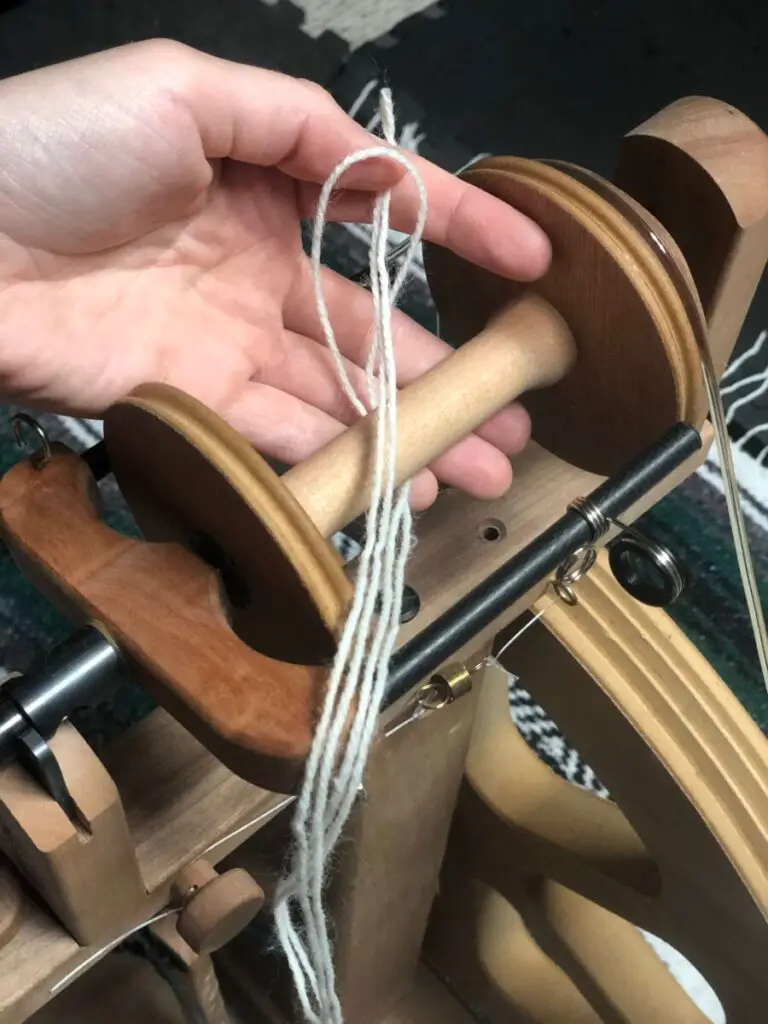
Single Strand Method
The single-strand method of a leader is exactly what it sounds like.
All you need is a piece of sturdy scrap yarn about 18 inches long.
Then, just tie one end of the scrap yarn around the middle of your bobbin. You can use whatever knot you like but I like to use a good ole square knot.
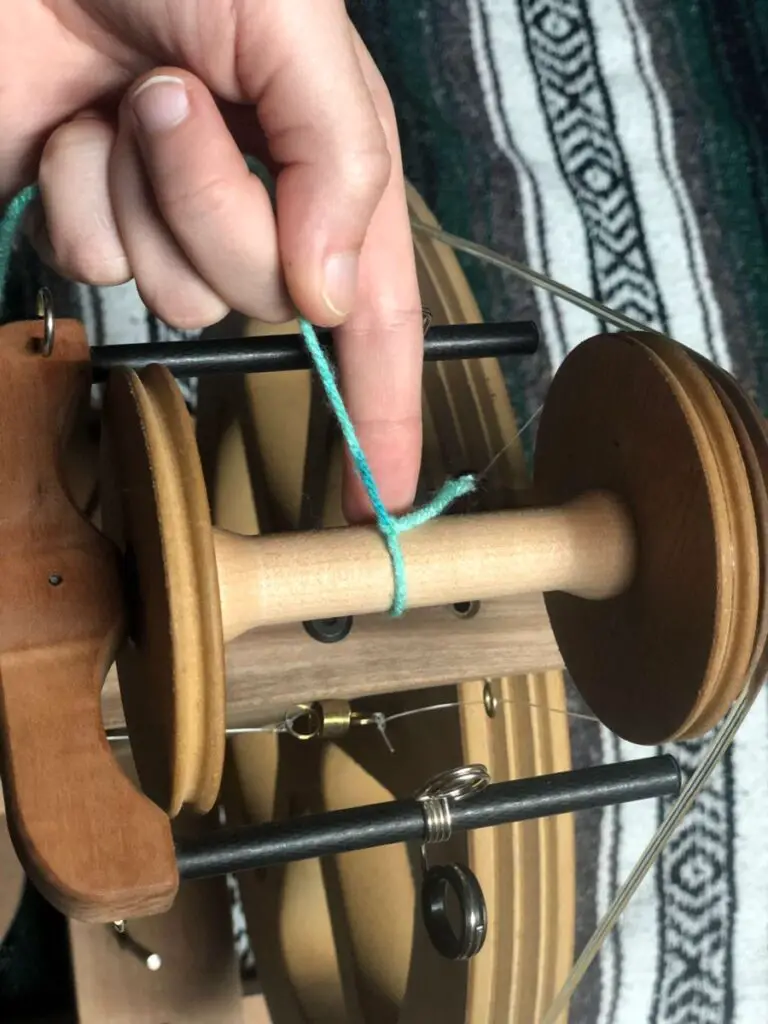
Feed your leader through your wheel until it’s out of the orifice. It should look something like this.
All that is left is to grab your fiber and start spinning, so let’s talk about how to go about getting your fiber started on your leader.
2. Attach Fiber to Leader
Alright, you’ve made it through all the setup and you’re finally ready to start spinning. Woo! Take a moment to get excited!
If you are totally new to spinning, it’s a good idea to try practicing your treadling before you attach any fiber. You can practice treadling just while holding the leader in your hand.
This allows you to get a feel for how your spinning wheel works. Once you’ve gotten a feel for the wheel, it’s time to start spinning for real.
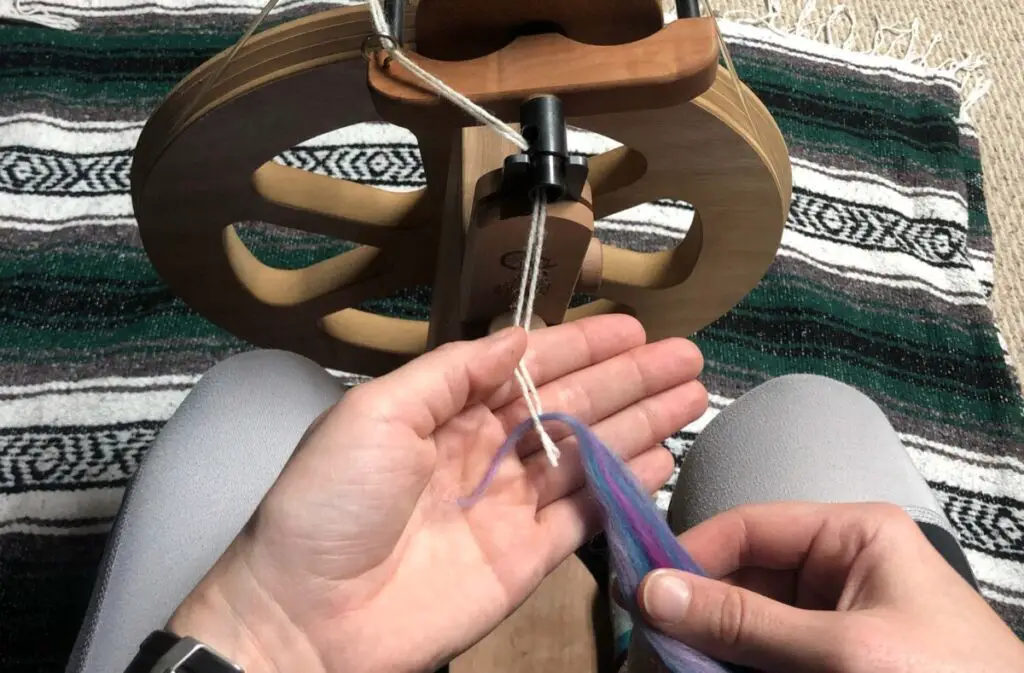
The last thing to do before you attach your fiber is to make sure your fiber is ready.
If you’re using roving or top, rip off a chunk of fiber so you’re not having to deal with the whole bundle at once. If you’re spinning a batt, pull a strip off so that you have a narrow chunk to start with.
With your chunk of fiber in hand, pull a little out of the end so you have a little tail sticking out. That tail is what you’ll attach to the leader.
As I mentioned earlier, the main difference between the two types of leaders is how you attach the fiber to the leader. So, I’ll discuss both methods so you know what to do regardless of what type of leader you have.
Looped Leader
If you decided to use the looped leader method, it’s really easy to get started.
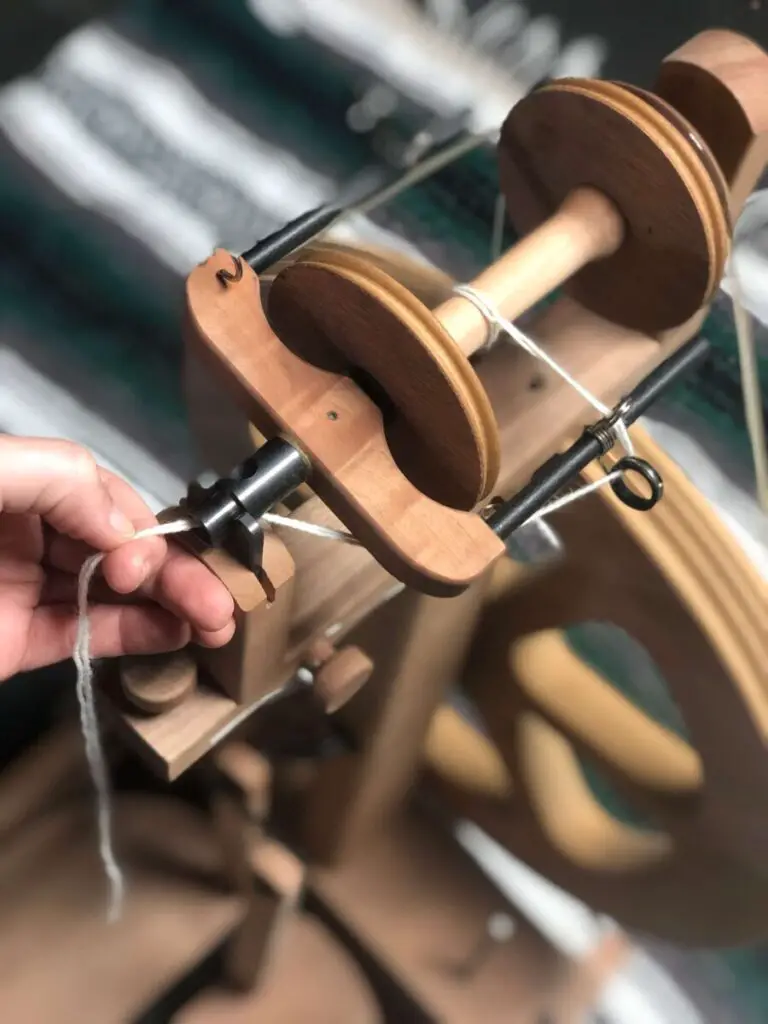
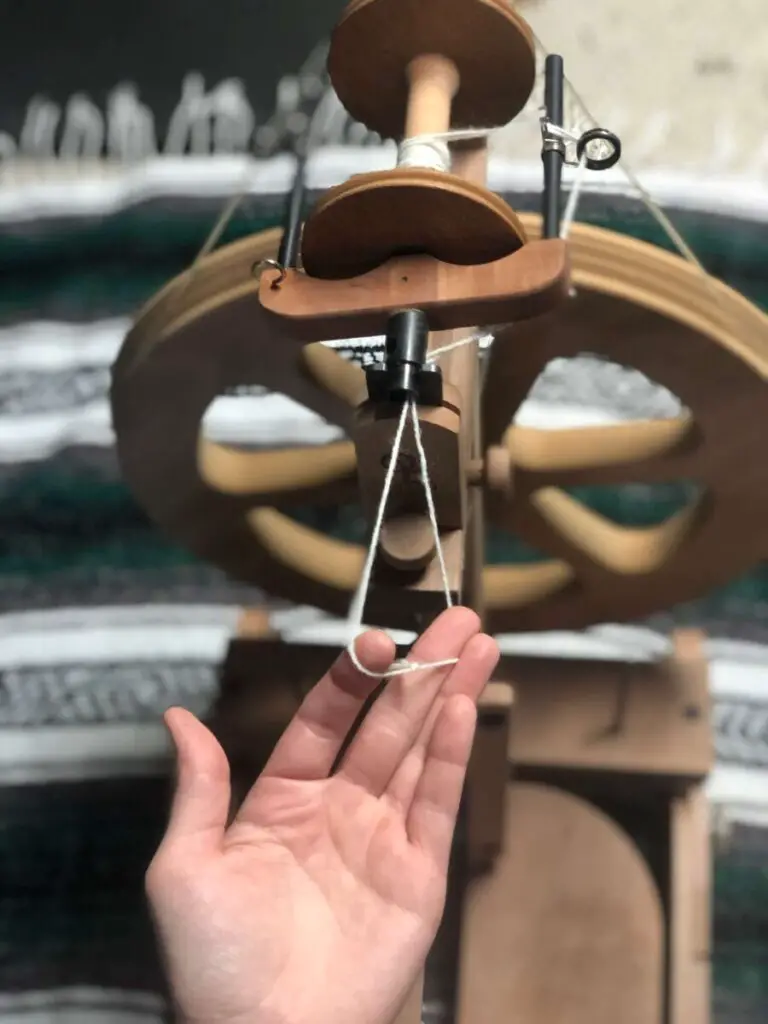
Find the end of your loop and open it up. Make sure that your leader is taught and pulled out close to you.
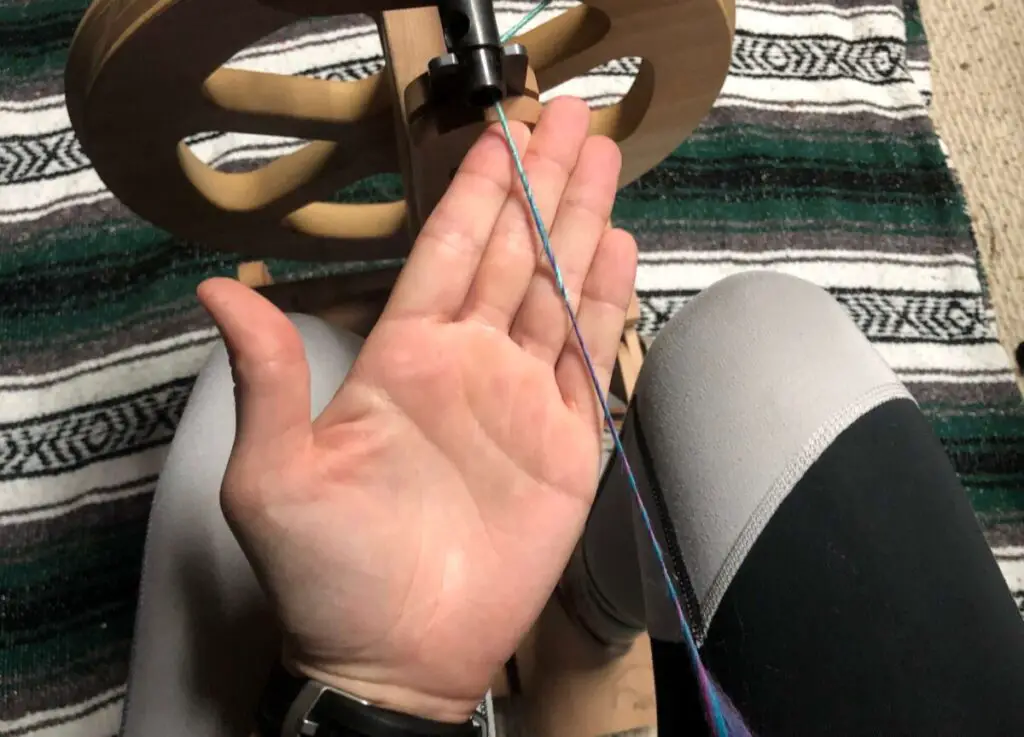
With your loop open, take the little tail of your fiber that you prepared earlier and put the end through the loop. Once it’s through the loop, you’re going to pull it back down onto itself so you create a loop of fiber that’s going through the loop on your leader.
It’ll look like this.
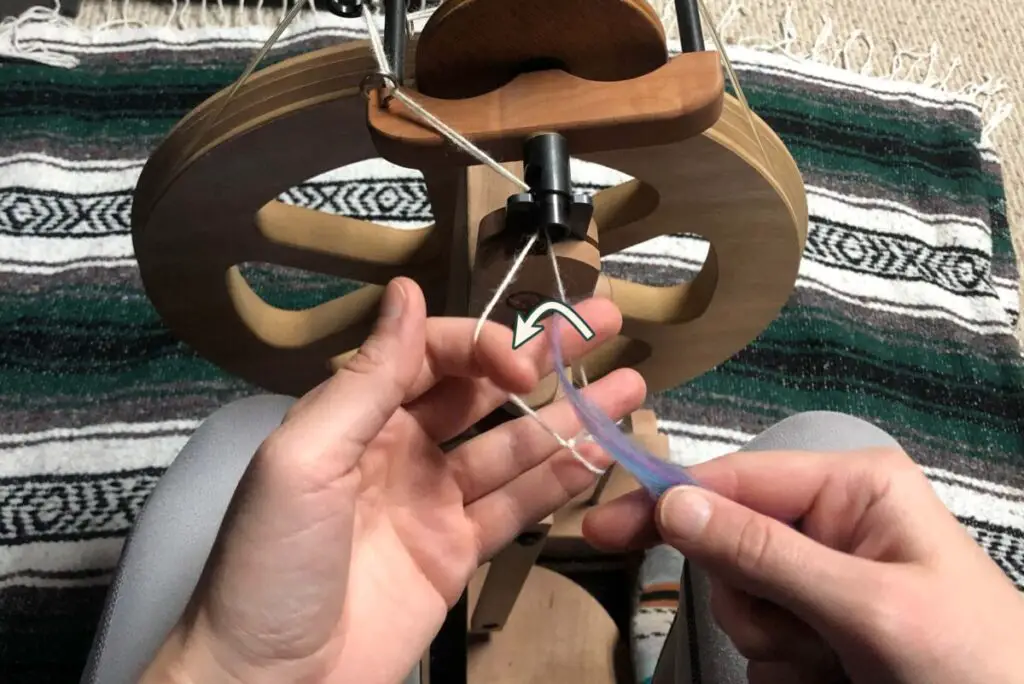
And that’s all you have to do, you’re ready to start adding twist.
Single Strand Leader
The single-strand leader is a little bit more complicated to get started than the loop method. If you’re new to spinning, I recommend using the looped leader.
But, you’re feeling adventurous so you went with the single-strand leader, I respect that.
In order to start your fiber on this leader, you have to start spinning and adding twist to your leader, and then you add the fiber to the leader as it’s getting twist.
Here’s how. Start your leader spinning and have your leader in one hand with your fiber in your other hand. Then, hold the fluffy tail on your fiber against the bottom couple of inches of your leader.
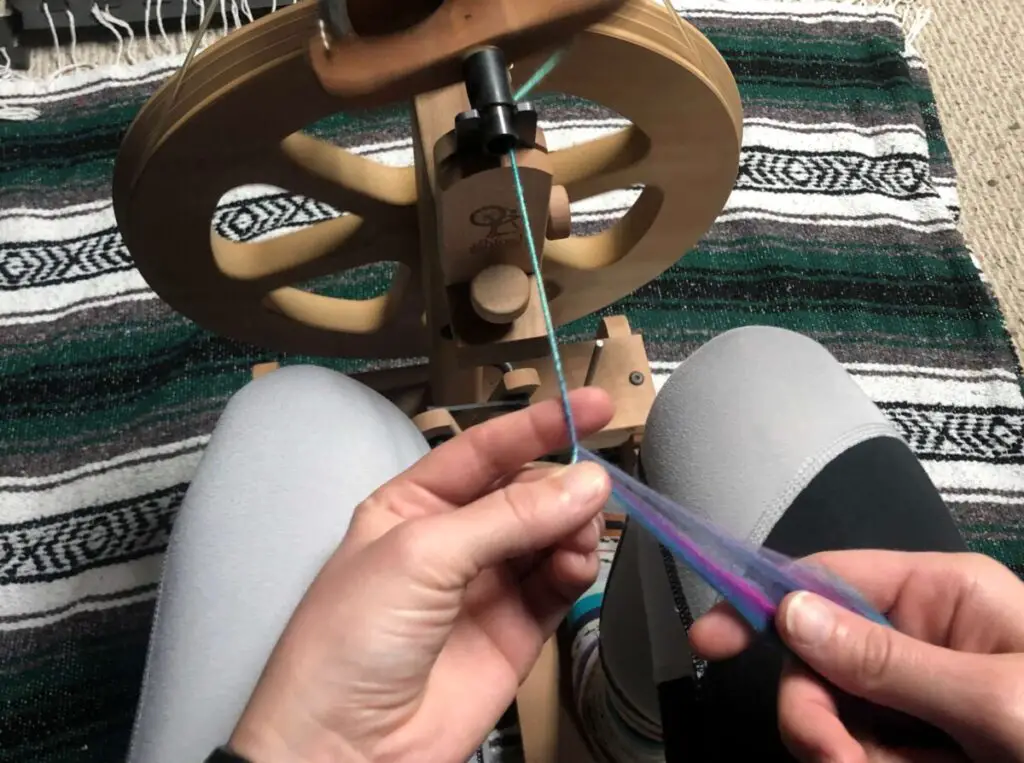
Continue to treadle and add twist. As you do, the twist in the leader will grab onto your fiber and this twist is what attaches your fiber to your leader.
This is also one of the ways that you attach more fiber while you’re spinning so it’s definitely a good skill to have.
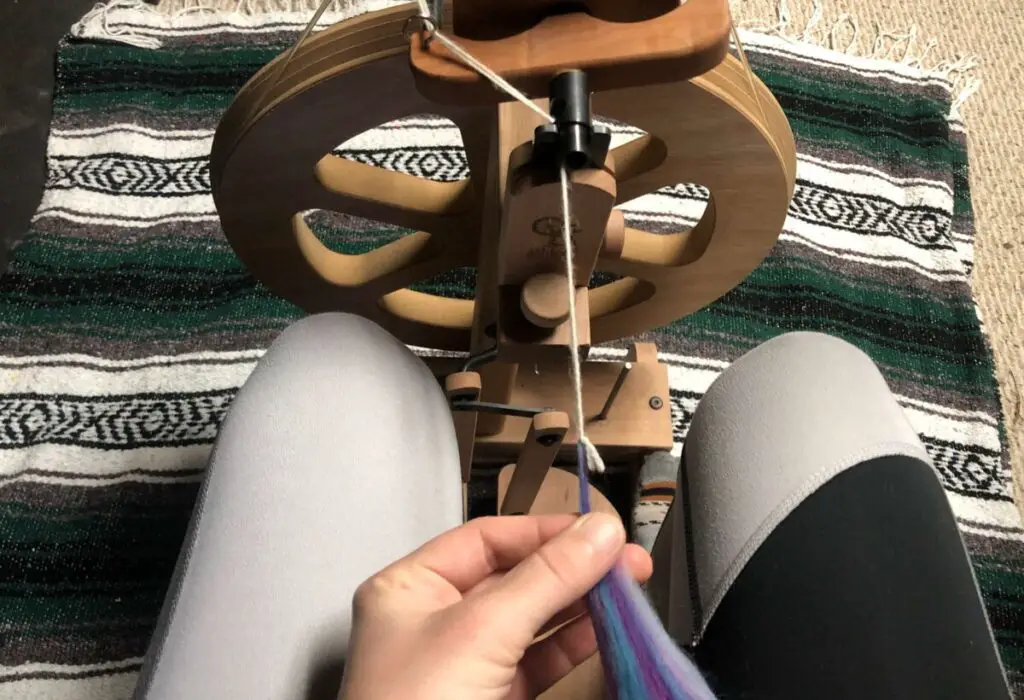
Whichever method you use, it’s time to start making yarn, which all starts with adding twist.
3. Add Twist
You’ve got your fiber attached to your leader and are ready to add a twist. If you used the single-strand method of leader, you’ve already added some twist.
All you have to do is use your treadles. Start out slow so you can figure out your own rhythm with the pedals. This is also the best time to check the tension on your wheel.
If your tension is too high, when you start treadling, your wheel will yank the fiber right out of your hands. You need to loosen up the tension band on your wheel.
This will be different depending on what kind of wheel you have, but for mine, I twist my tension knob to put slack in the tension band.
If your tension is too low, you will have no uptake on your wheel which means it won’t pull the finished yarn onto the bobbin when you move your hands forward. To fix this, tighten your tension according to your wheel’s instructions.
One last note about treadling, you need to make sure you know which direction you’re treadling and keep going in the same direction.
By direction, I mean making sure you’re always spinning the wheel clockwise or counterclockwise. Most people spin singles clockwise.
If you mix it up and go both directions, you’ll have a messy jumble of yarn. Believe me, I speak from experience.
So, if you ever pause or stop treadling, make sure you start your wheel going the same way you were before.
Once you have some twist going and you’ve found the goldilocks zone of tension, it’s time to draft your fiber out to begin creating your yarn.
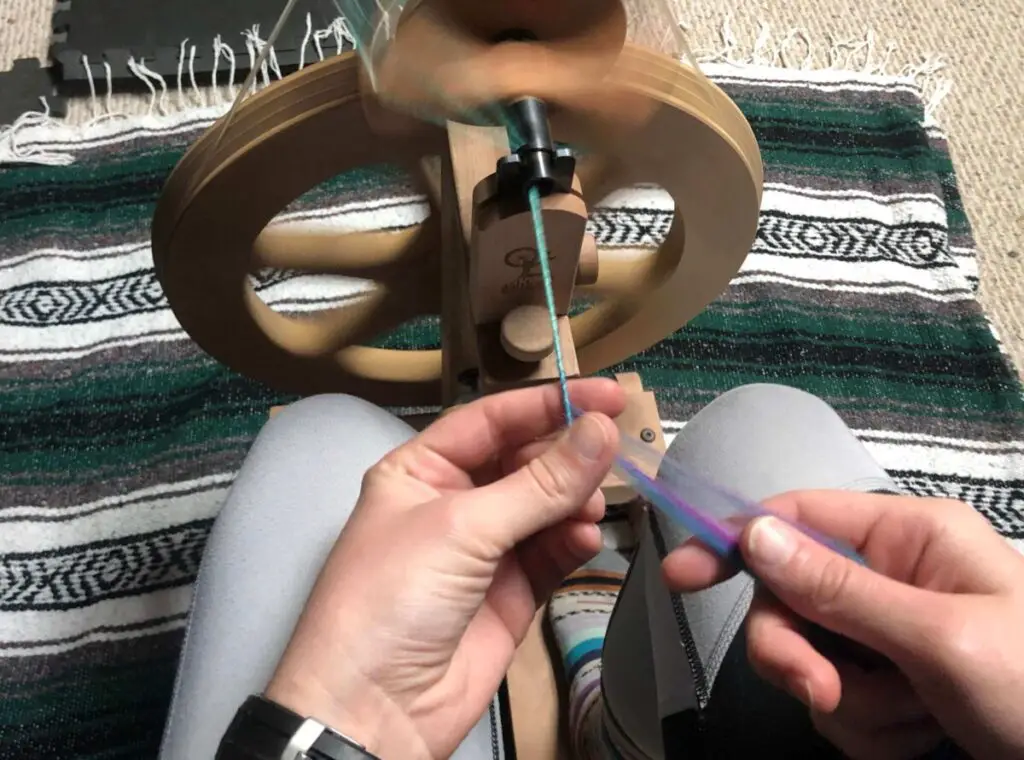
4. Draft Fiber
This is where the real creating happens. Drafting fiber is the core of making yarn.
While holding your fiber supply in one hand, use your other hand to pinch and pull out a small section of fiber. Make sure you don’t pull too far or you’ll risk disconnecting your fiber supply from your working yarn.
Then, slide your drafting fingers back along the small section of fiber you just pulled out until you’re back to your fiber supply. That’s all there is to it.

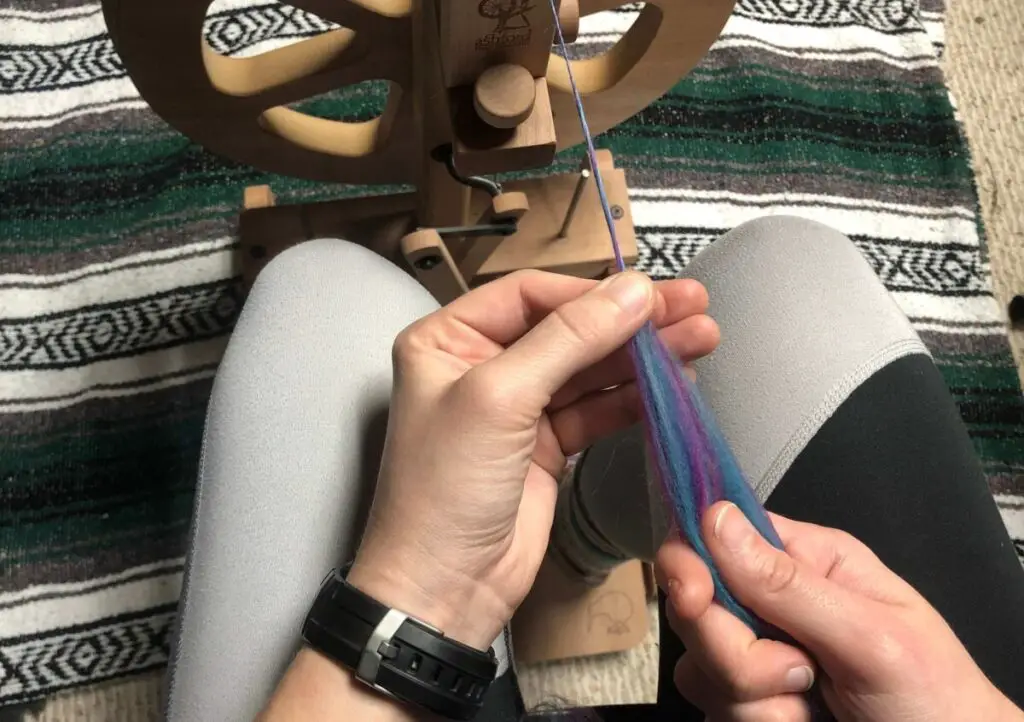
Keep repeating this pinch and slide motion. You’re making yarn!
As you’re pinching and sliding, your wheel should be pulling in your finished yarn and winding it onto the bobbing for you.
If that’s not happening, your tension might be too low. Crank it up and see if that helps.
Drafting fiber takes some getting used to and you’re not going to have perfect yarn the first time you try. Take it slow and be patient with yourself. Beauty doesn’t come without hard work.
5. Rinse and Repeat
All that’s left is to just keep spinning. Find your rhythm with your treadling feet and your drafting fingers and just keep going.
As the section of your bobbin starts to fill up, you’ll want to move where the yarn is being wound onto the bobbin. The way you do this depends on the wheel, but you’ll either move your yarn onto a different hook or move the hook itself like on my wheel.
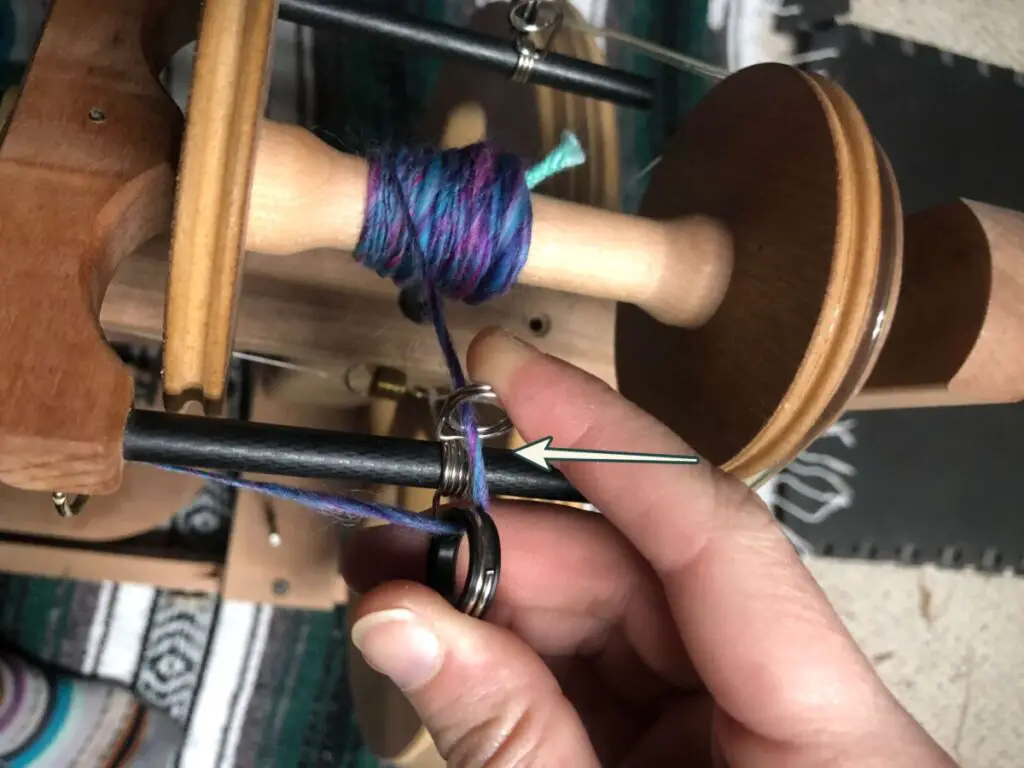
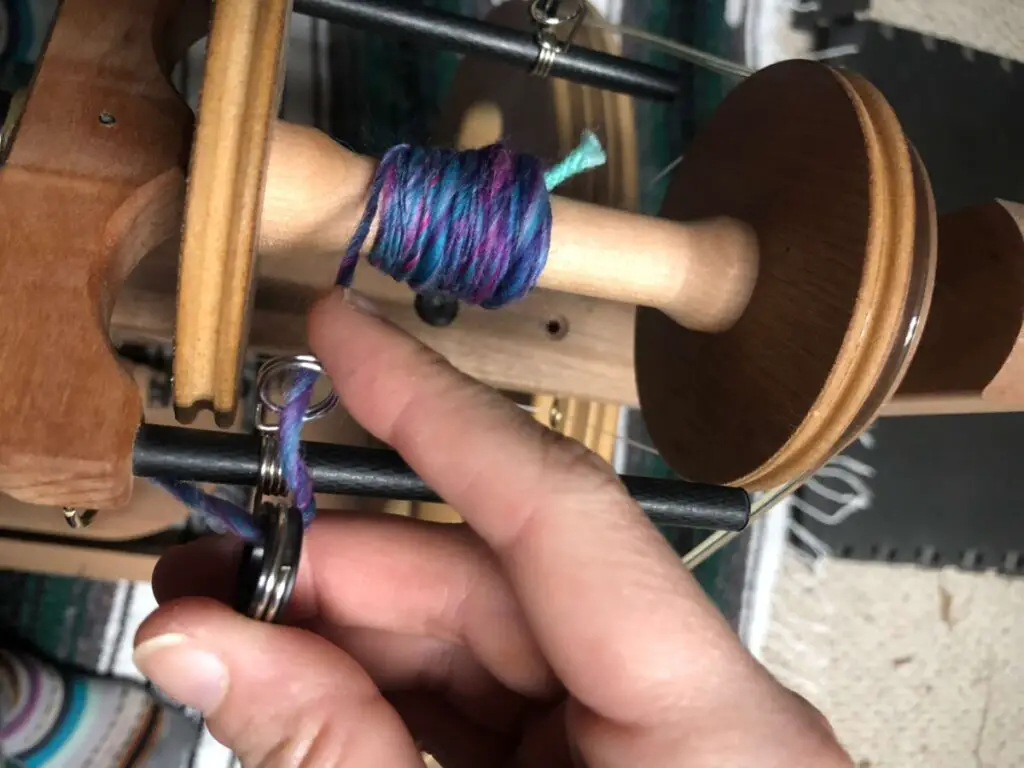
It’s important to keep checking in on your bobbing and how your wheel is feeling. You will need to adjust the tension as you go and you’ll have to continue to change the hook so your yarn is evenly wound onto the bobbin.
I know before long you’ll be a yarn-making wizard and create some ridiculous fluffy thing you have no idea what to do with like the yarn I made last week.
Wrap Up
Bam! I know this was a long one but you made it through and you’re all the smarter for it.
Let’s make sure you’ve got everything you need to start your yarn-spinning journey.
First, you’ll need to make sure you have everything you need. You need a spinning wheel, some fiber, and some scrap yarn to make a leader with.
Once you’ve got everything, you’ll need to start a leader by either using the loop method or the single-strand method.
Now that your leader is set up, attach your fiber to your leader and start adding twist by treadling your wheel. But, make sure you always treadle in the same direction or you’ll get a tangled mess.
Then, pinch and draft your fiber supply to let twist into the fiber. Keep repeating this motion to make yarn. As you’re finished with the yarn your wheel will pull the finished yarn and wind it onto the bobbin for you.
While you’re spinning, make sure to adjust your tension as needed and keep moving your hook so that your bobbin gets wound evenly.
And there you have it! You know everything you need to know about how to use a spinning wheel. All that’s left is to practice, practice, practice.
With all your newfound knowledge, get out there and make something awesome!
