Acrylic yarn is a great, cheap alternative to wool. It has many of the same qualities as wool, but does acrylic yarn stretch?
Acrylic yarn does not have the same amount of spring and stretch as wool yarns so it will not be as stretchy as other yarns. But, acrylic yarn and acrylic garments can be stretched slightly using heat or steam blocking.
Table of Contents
What is Acrylic Yarn?

Acrylic yarn is made out of synthetic fibers made from a substance called acrylonitrile which is derived from crude oil. It is often made to mimic wool yarn’s qualities but can also be made to mimic other natural fibers such as cotton.
I found it quite interesting when I looked into how acrylic yarn was made.
To make acrylic yarn, first, a gel-like mix of acrylonitrile polymer is made. This is basically just a pile of plastic-y goo.
Then, this synthetic material is sent through something called an extruder or a spinneret. This device spins the acrylic fibers similar to how spiders make their web. Pretty cool.
Once the acrylic fibers are extruded, they are treated with a chemical bath which gives the fiber some crimp which is how it can mimic some of the properties of animal fibers.
These crimped fibers are then sent off to a textile factory which will spin them into yarn and/or weave them directly into acrylic fabric.
Now that you know where acrylic yarn comes from, let’s talk about if acrylic yarn stretches.
Does Acrylic Yarn Stretch?
Acrylic fibers are treated so that the individual fibers have crimp on them, this means that some acrylic yarns will have a little bit of stretch. However, it will not be as stretchy as wool yarns.
Some acrylic yarns are made to mimic cotton, these yarns will have even less stretch since cotton yarn has very little stretch.
For a comparison of the stretch of acrylic yarn and wool yarn, I took lengths of both acrylic yarn and wool yarn and measured them side by side, one stretched and one not stretched.
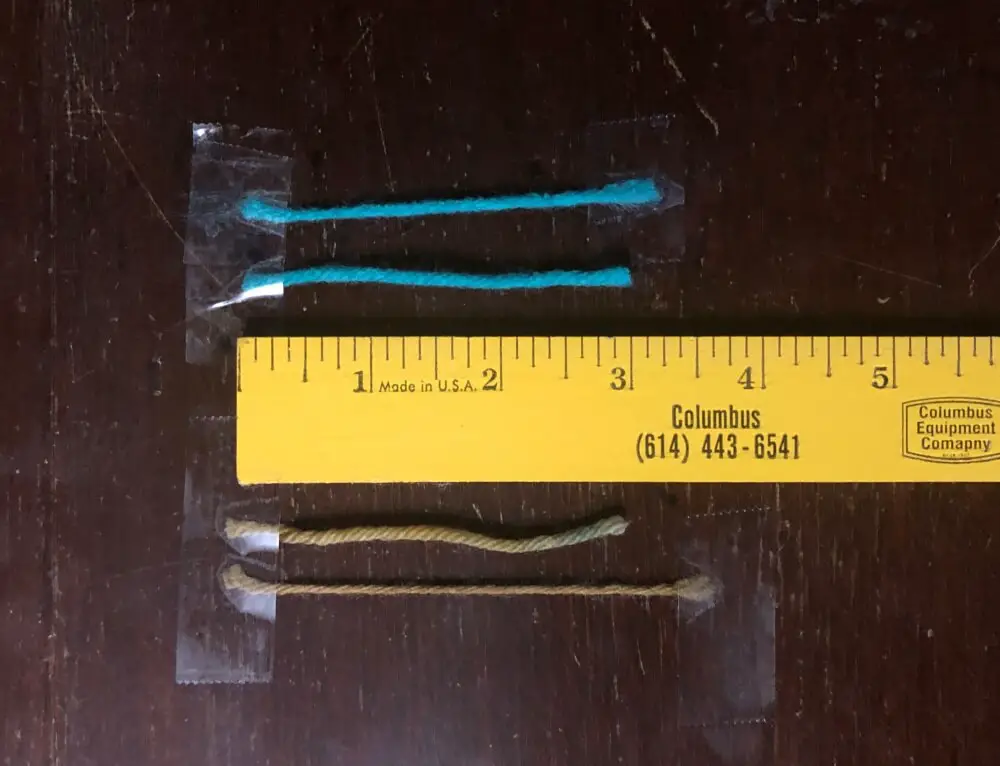
The acrylic yarn is the teal blue and the wool yarn is the orange-yellow combo. The acrylic yarn stretched about 1/4″ and the wool yarn stretched about 1/2″, almost double the acrylic yarn.
As you can see, the wool yarn has a much greater stretch than the acrylic yarn. However, keep in mind that this stretch difference will vary based on the construction of the wool yarn and the acrylic yarn.
In general, acrylic yarns have some stretch but not as much as woolen yarns. Similarly, an acrylic garment will be able to stretch a little bit, but it will not have as much give as wool garments.
Because it is constructed to mimic wool yarns, acrylic yarn can also be blocked to help with the fit or with the shape of the finished object.
How to Block Acrylic
There are a ton of blocking methods out there for every type of yarn, but there are two main methods that seem to be the most effective with acrylic yarn: steam blocking and spray blocking.
What method you use depends on the reason you’re blocking your acrylic garment. If you’re trying to shape it to fit or stretch a specific area and keep it that way as long as possible, then steam blocking is the best method.
If you’re just trying to flatten out an acrylic square or a piece so that you can more easily sew the pieces together, then spray blocking is a cheaper, easier alternative to steam blocking.
I also found a video that shows someone blocking their acrylic squares using dry heat with just a hair dryer. This seems to work very well.
So, if you have a hairdryer and want to block it quickly, this is also a good way to do it. I would give you a walk through but I don’t own a hair dryer (insert cold sweat emoji here).
But, to see how it’s done, here’s the YouTube video I watched.
For steam blocking and spray blocking, here’s how it’s done.
Spray Blocking
Spray blocking is the easiest and cheapest way to block any kind of yarn, not just acrylic. However, the downside to this kind of blocking is that it takes a while. The piece has to air dry after it’s been soaked.
But, I’m getting ahead of myself, let’s start with step one.
1. Gather Materials
The first thing you’re going to do is gather everything you need for this project.
- Blocking mat or yoga mat
- Pins (rust free/rust resistant since they’ll get wet)
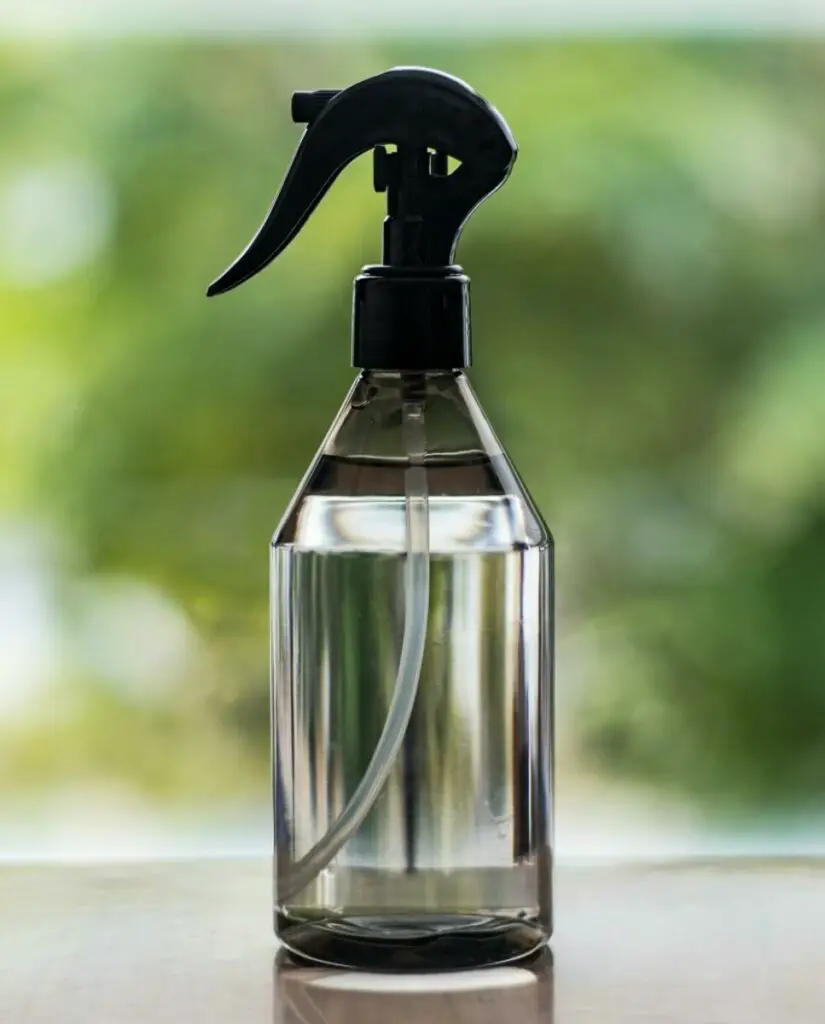
- Spray bottle filled with water
- Ruler/measuring tape
- Item needed blocking
Once you’ve got everything together, it’s time to start the real work.
2. Pin Piece
The next step is to pin the piece that needs blocked into the desired shape and size. I’m just using a knit swatch for an example.
The size and shape you need will vary based on your project. If you’re making squares for a blanket, then you should pin your squares to the size specified in the instructions. This is where the ruler comes into play.
If you’re blocking pieces that will be sewn into a larger garment such as a sweater, the pinning might be slightly more complicated. Consult your pattern to know the sizes that your pieces need to be.
The same goes for if you’re blocking a completed item, consult your pattern to see what the finished dimensions need to be.
Once your piece is pinned into place and you’re happy with how it looks, time for step three.
3. Wet the Piece
This step is easy peasy, you just have to spray the whole piece down with water. The goal here is to soak the yarn all the way through with water.
I mentioned this in the materials step but this is why you want to make sure your pins don’t have rust on them and are rust resistant.
The pins are going to get soaked with water and then left to sit, if they have rust on them, the rust could bleed onto and stain your piece and nobody wants that.
If you soak your piece a little too much, you can blot the excess water off with a towel, just be gentle.
4. Let it Dry
If you thought the last step was easy, this one is even easier unless you’re super impatient to finish blocking.
Now you just have to let it dry. Depending on how thick your yarn is and how dry your air is, this could take a while.
Make sure you leave your item to dry somewhere out of direct sunlight as this could damage the fibers over long periods of time.
Once it’s fully dry, unpin the piece and you’re ready to move on with whatever the next step of your project is. Happy crafting!
Steam Blocking
Steam blocking requires a little more work than spray blocking, but the results will be better and will stay longer.
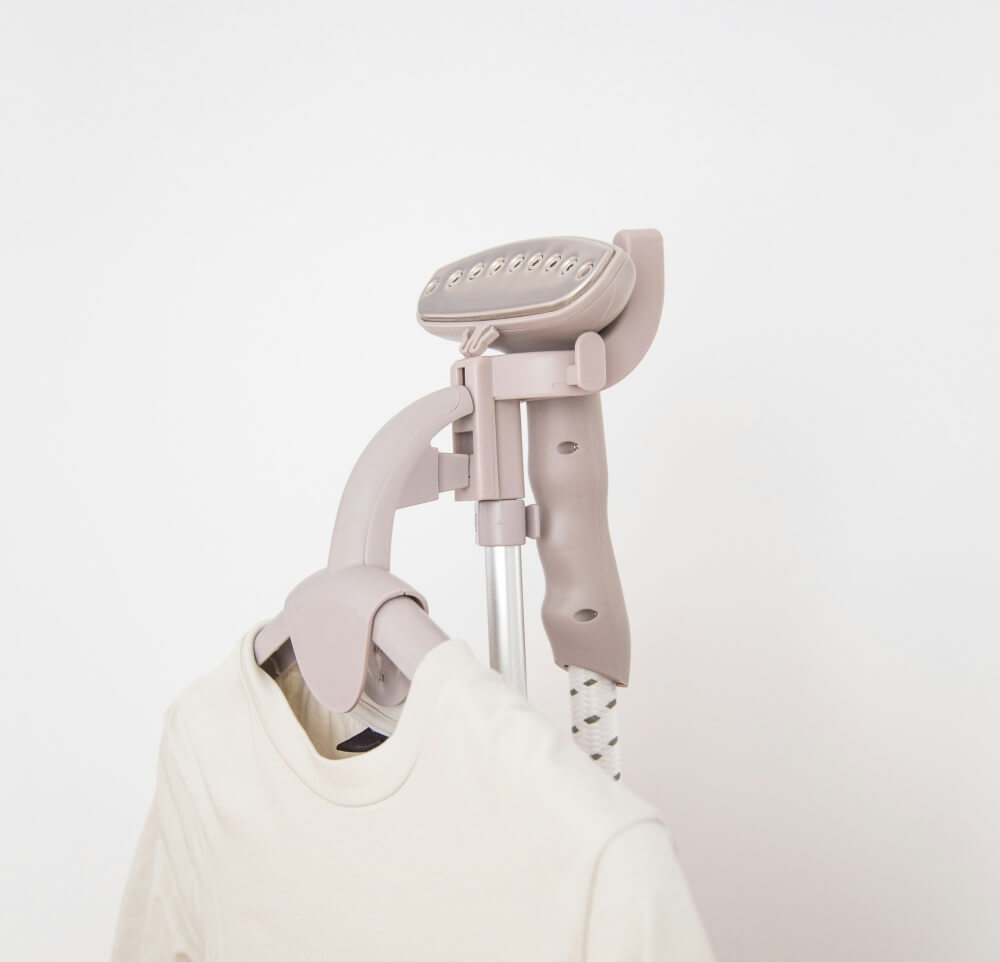
The easiest way to steam block is with a garment steamer, but you can also do this using a clothing iron with a steam setting or with an electric water kettle. I know the electric kettle sounds weird but it works, trust me.
Now let’s get into it.
1. Gather Materials
The first step to any successful project is to get everything you need.
- Blocking board or yoga mat
- A steam-producing device
- Pins
- Ruler or measuring tape
- Piece needing blocked
As I mentioned earlier, there are several things you can use to steam your piece. For larger pieces, a garment steamer or an iron with a steam setting will be the easiest.
But, if you have small pieces, then you can use a teapot or an electric kettle. I’ll describe how to do that later.
2. Pin Piece
Next, you need to pin your item into the desired shape and size. This is where you need the measuring tape or ruler.
Check your pattern or your desired sizes measure out each side of your piece and pin it into place.
When placing the pins, keep in mind that if you have any areas where the pin leaves a ridge or bump in the edge, this bump will remain after you take the pins out.
To help prevent this, add more pins. When blocking, the more pins the merrier. This will help even out the tension and prevent those bumps from forming.
3. Steam the Piece
Now that your item is all pinned up, it’s time to apply the steam. For a garment steamer, simply follow the instructions for your specific steamer. Run the steamer across the surface a few times.
If your steamer has a low heat setting, that would be best. But, if not, just keep the steamer slightly away from the piece to prevent damaging it.
To use a steam iron, add the water to it and let the iron get warmed up. Once it’s warm, hold the iron a few inches away from the piece and let the steam hit the item.
When using an iron, make sure you never touch the piece directly with the iron. Synthetic yarns melt when exposed to high heat which is also why you should never put acrylic items in the microwave.
Last but not least, here’s how you can use a teapot or electric kettle. I’ve done this before when steam-setting freshly spun yarn and it works like a charm.
Get your kettle boiling with a bunch of water inside and then open the top. Steam should come billowing out.
Take your blocking board with your piece pinned to it and move it around in the steam cloud. This will have the same effect as using a steam iron but without having to worry about touching the iron to the fabric.
However, this method would be difficult to use with larger garments so it’s best suited for small pieces like squares.
A final word of warning for when steaming your synthetic fiber: there is such a thing as too much heat and steam when it comes to acrylic knits.
If acrylic yarns are exposed to too much heat, you can ‘kill’ the acrylic. What this means is it permanently changes the fiber structure and the characteristics of the yarn will be different.
Killing acrylic lengthens and stretches the fiber making them longer, smoother, and with better drape. Some people do this on purpose to get that effect.
There is nothing you can do to fix this. But, if you don’t want that to happen, just be careful how much heat you apply to your item or how close the item gets to the heat source.
You can always steam it again if the first time wasn’t enough, but that’s better than ruining an entire knitting project or crochet project.
4. Let it Dry
Now that you’ve done your steaming with whatever method you choose, all you have to do is wait.
Steam blocking takes much less time to dry than spray blocking does. So, depending on the thickness of your yarn, it might only take an hour or two.
Once it’s dry you can unpin it and check out your handiwork. The piece should remain in the shape that you pinned it in.
But, with acrylic yarns, this blocking is not permanent and it will bounce back to its original shape after a wash cycle.
Related Questions
Does Acrylic Yarn Shrink?
Acrylic yarn will not felt and shrink in the washing machine like some other natural fibers such as wool and alpaca. However, high temperatures can damage the fibers so you should always wash and dry on low temperatures. For more info on what fibers shrink when washed, check this out: Does Yarn Shrink When Washed? (4 Different Yarns Explored)
Is Acrylic Yarn Itchy?
Acrylic yarn is not as itchy as some wool yarn and it is also hypoallergenic since it is a synthetic fiber. If you have a wool or other natural fiber allergy, acrylic yarn may be a good alternative for you. Some acrylic yarn may be itchy depending on the quality of the yarn.